 goodworksfurniture Decoration and home design ideas
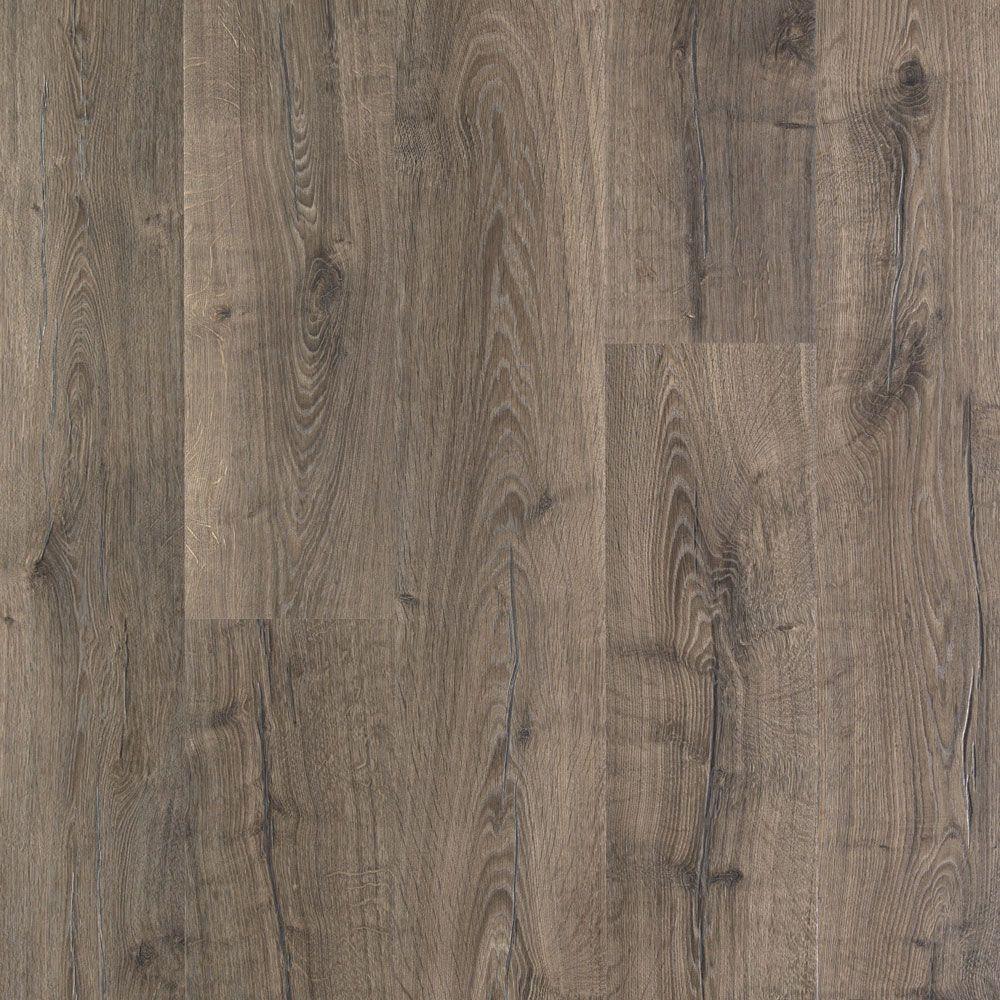
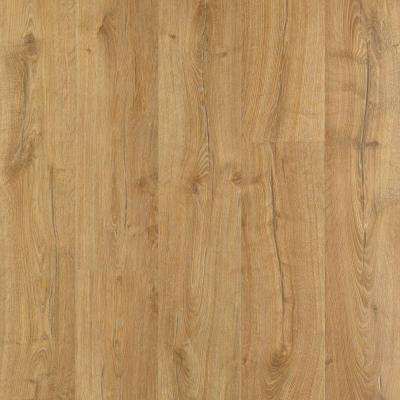
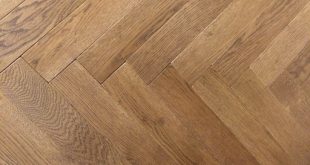
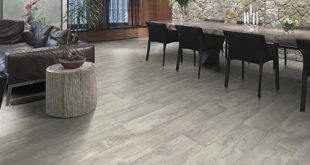
Laminate wood flooring can be a great alternative to carpeting in the home due to a number of reasons, with durability and hygiene being top among them. It is also cheap, beautiful and easy to maintain. What’s even more appealing is that you can install the flooring using DIY methods, something that is very hard to achieve with hardwood flooring. Here is what you will need as well as steps to follow in installing laminate wood flooring at home.
Requirements
This project requires a lot of tools to make it a success. Some of the major tools for this include a hammer, measuring tape, small pry bar, utility knife, underlayment tape, floating laminate flooring among others. Be sure to check with your supplier the tools necessary for this project.
Step1: Floor Preparation
If the flooring is not bare, remove the carpet, its padding as well as the track strips. You can also remove the baseboard if you wish to replace it with another. Since the laminate flooring does not sit directly on the floor, you will need to level the subfloor to ensure levelness, as an uneven and dirty floor will cause the laminate floor to buckle and get damaged much earlier than expected. You can use a lever to check for level variations on the sub floor and adjust to required levelness using a metal putty knife and sweeping away the debris.
Step2: Acclimating the Laminate wood flooring
Acclimating means letting the laminate flooring sit in the room for about 48 hours prior to installation of the flooring. This helps the laminate wood flooring expand and contract according to the room’s humidity and temperature, preventing any further buckling and other problems during the installation.
Step3: Installing underlay and preparing Layout
The underlay is what will come into contact with the subfloor. When laying it out, do not overlap the pieces, but instead use a tape to join the seams. The layout should then be planned as desired by you. You can do this using a tape measure to measure the length and width of the room, as well as that of the laminate flooring and determine whether they will be installed in parallel or perpendicular to the room’s view.
Step4: Prepare the Doorframes
Since it is highly likely that the door frames will get in the way of installing laminate wood flooring, you should cut the doorframes to allow room for the laminate flooring to sit in.
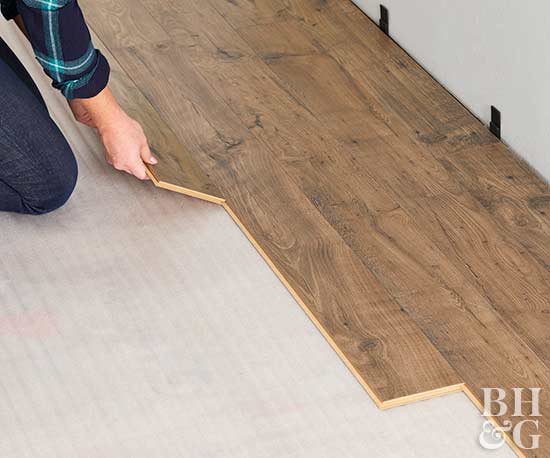
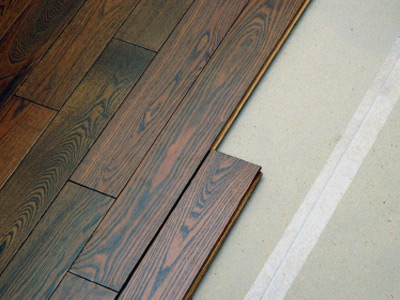
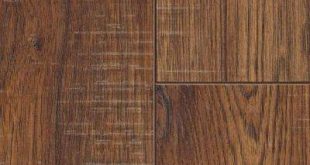
Step5: Install the Laminate Wood flooring
This is the final stage where the hard work is. You may need to cut the last pieces in a row so that they can all fit together tightly, as well as leave some space to allow for contraction and expansion of the laminate flooring.